Primary reference was from this illustration found on the official Witch Hunter codex.

Other references were glimpsed from online images of painted mini figures and various fan arts.

After keeping the project under wraps for almost an entire year, the finished product was finally revealed at HobbyCon 2010, held in CityMall, Kota Kinabalu, Sabah.

With the rest of the team
(photo credit: David Shia)

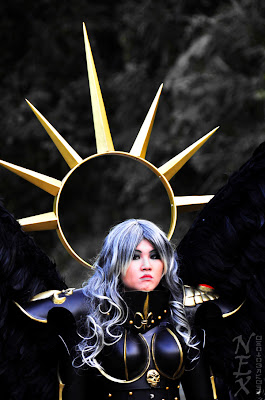
Yus, our Dark Angel, won 1st place in the solo cosplay competition.
(Photo credit: Colvin Teo)

The team won 1st place in the group cosplay competition.
And here are some pics from an outdoor photoshoot done a week before HobbyCon 2010:


Detail view of the costume parts:
Halo, Pauldrons, Collar & Breastplate
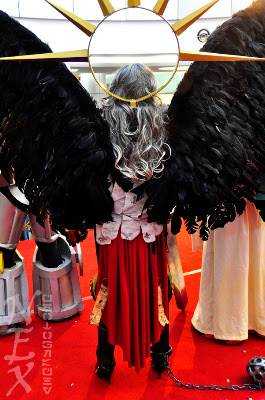
Back view.
The strips between the wings are parchment inscribed with declarations and prayers.
Purity seals can be seen on the skirt.

Right Pauldron with illuminated red ruby

Finger Gauntlet and Ardent Sword

Purity seal, Cuisse, Greave & Poleyn

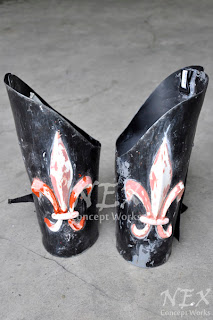
Cuisse, Greave & Poleyn

Sabaton & Shackle
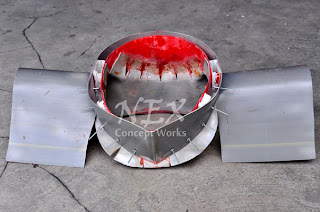
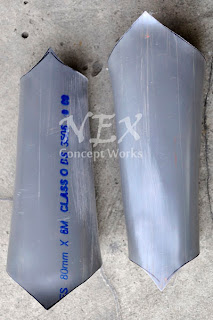
Here are some WIP pics to provide some insight on how certain parts were constructed:

Construction credits:
- Halo spikes base structure: Richard Nelson Sokial
- Finger Gauntlet & Ardent Blade base structure: Neo Nova Craft Production
- All raised details (except wings on Poleyn), cloth parts, purity seals, parchment, flower for Ardent Blade & weathering: Joanna
Here are some WIP pics to provide some insight on how certain parts were constructed:

Collar and shoulder support structure

Beginning of the Vembraces

Cuisse with unpainted Fluer De Lise

Front & back parts of the Greaves
And for those who are wondering how much the wings costs, here's an example of what others charge for something close to what I've made:
Huge Feather Wings from dragonwings.net
And for those who are wondering how much the wings costs, here's an example of what others charge for something close to what I've made:
Huge Feather Wings from dragonwings.net
Updates:
Dec 18 2010: Featured in Cosplaygen
Dec 28 2010: Featured in BANDWIDTH Street Press (page 30 & 31)


